
Record expenses and suppliers
Log what the firm spends, who you paid and which account the money came from, with the receipt attached.
Expenses are the costs your firm pays, such as rent, software or a supplier's invoice. Each expense has a category, the account the money left from and, if you want, the supplier you paid. Open them from CRM > Expenses. You need the Expenses permission, which also opens suppliers, expense categories and wallets.
Key ideas#
| Term | What it means |
|---|---|
| Profile | Who the expense belongs to: your company, one of your business profiles, or Personal. Only the person who records a personal expense sees it in the list. |
| Category | The type of cost, for example rent or software. Each category belongs to one profile. |
| Supplier | Who you paid. Optional. |
| Paid from | The wallet the money left, such as a bank account or the cash box. Saving the expense lowers that wallet's balance. See Payment methods and wallets. |
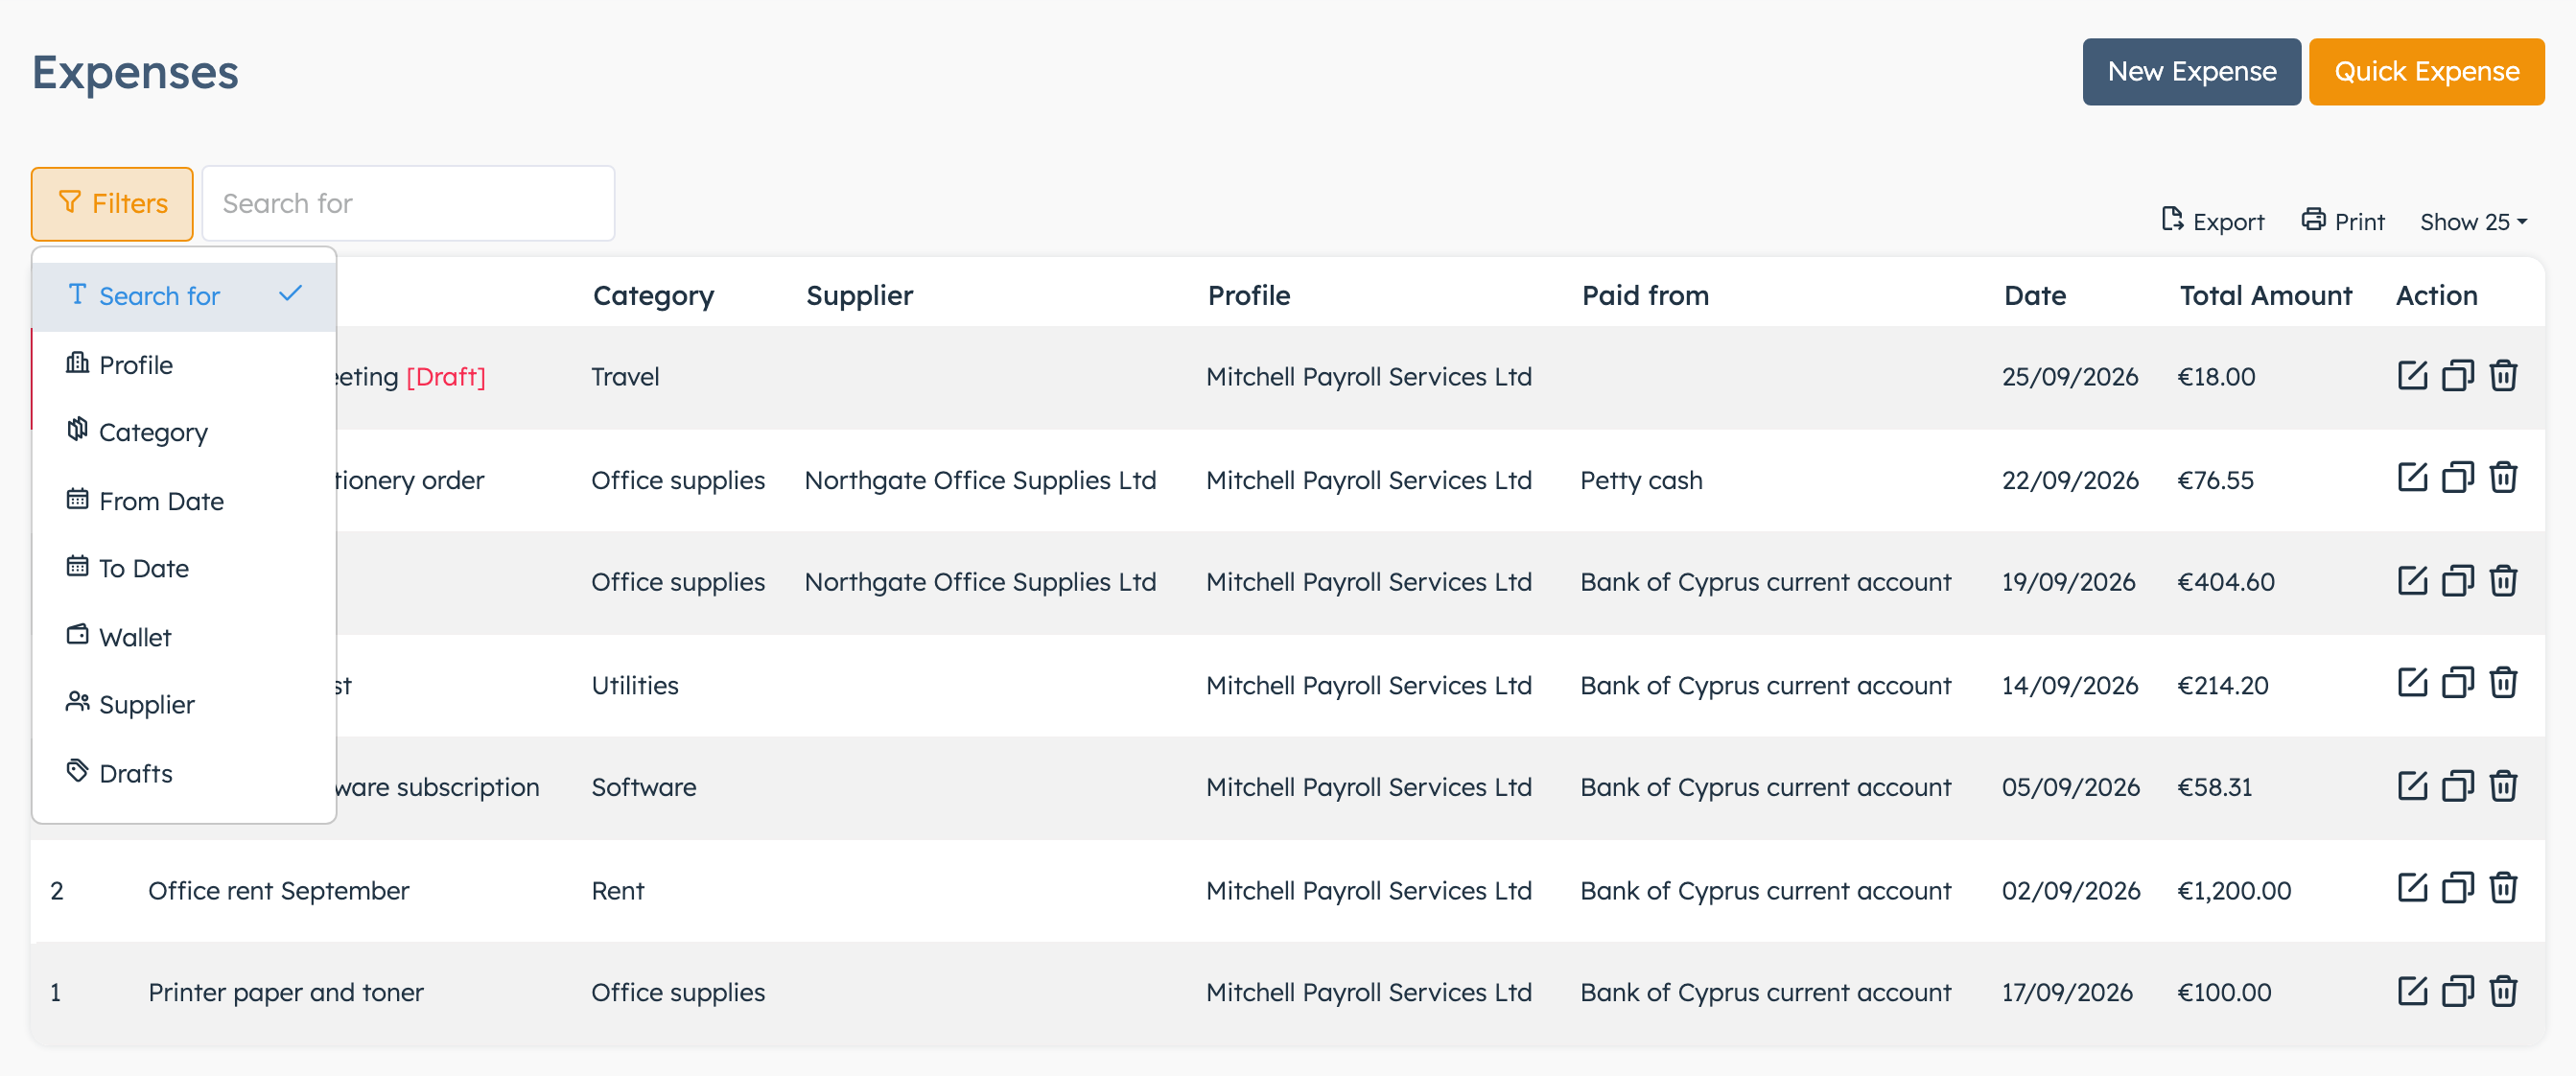
| Draft | A quick expense you haven't completed yet. It shows [Draft] in red in the list. |
Set up expense categories#
- Open CRM > Settings > Expenses Categories and click Create New.
- Pick the Profile. The category only shows on expenses with the same profile.
- Type a Code and a Name. Both are required.
- Switch Active on. New categories start switched off and don't show on the expense form until you switch them on.
- Click Save.
To switch several on at once, tick Active on the category list and click Update. The ticks don't save until you do.
Add a supplier#
- Open CRM > Settings > Suppliers and click Create New.
- Type the Name. Add a Contact Name, Country and Description if you like.
- Type the EU/UK VAT Number if the supplier has one. The system checks it when you leave the field.
- Switch Active on. New suppliers start switched off and don't show on the expense form until you switch them on.
- Click Save.
The supplier list works the same way: tick Active, then click Update.
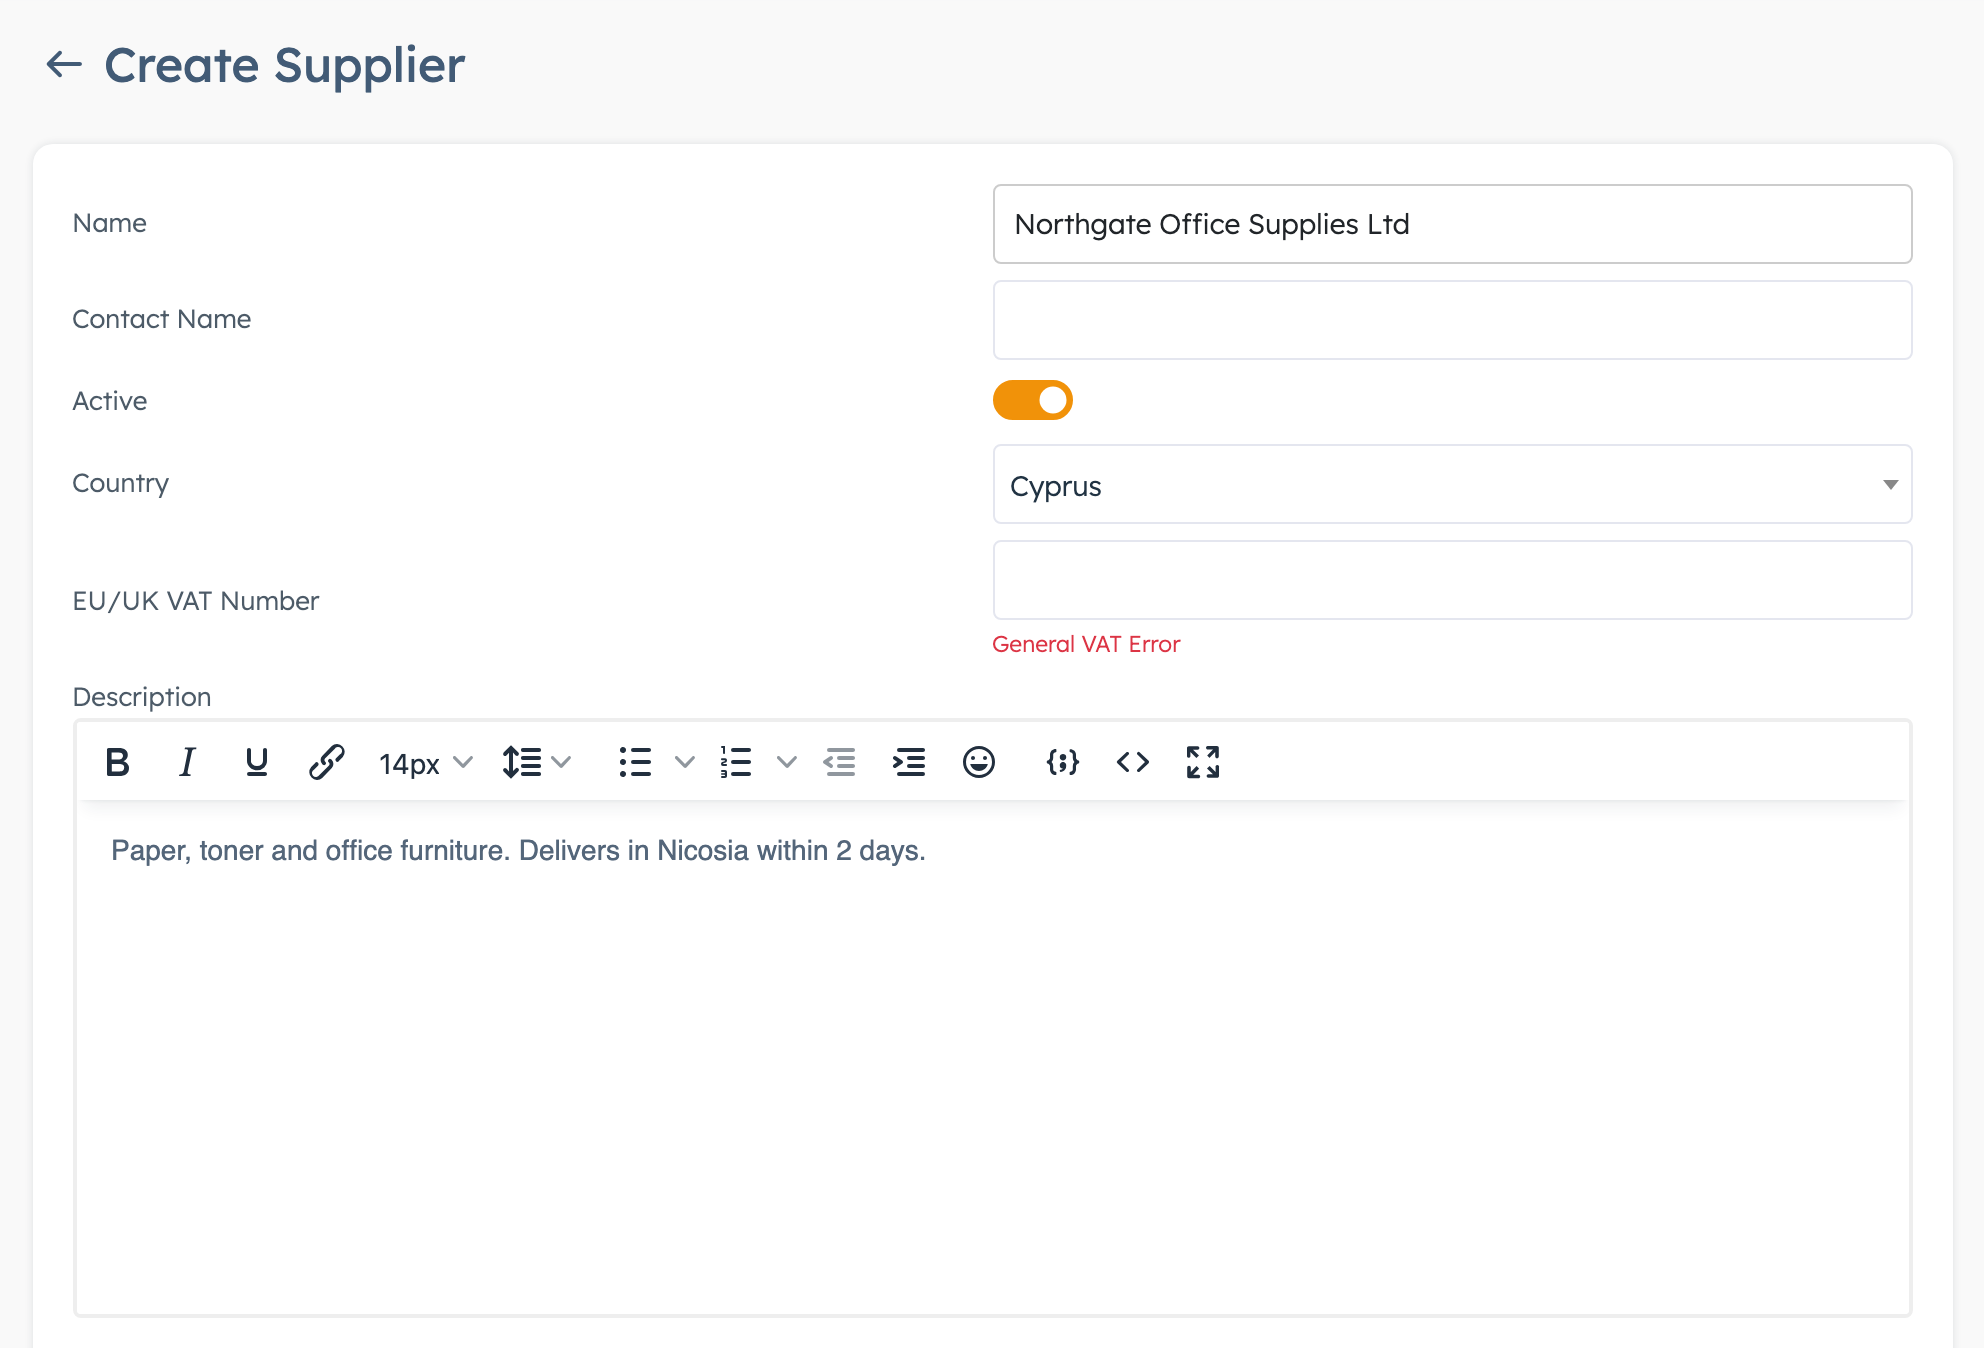
While you record an expense, you can pick Create New in the Category or Supplier list, or type a new name into the box. Categories and suppliers you make this way start switched on.
Record an expense#
- Open CRM > Expenses and click New Expense.
- Pick the Profile. The Paid from and Category lists change to match it.
- Pick the Category, and the Paid from wallet and Supplier if you know them.
- Type a Name and, if you have one, the Reference Number from the supplier's invoice.
- Under Dates, set the Invoice Date (the date on the supplier's invoice) and the Payment Date (the day you paid).
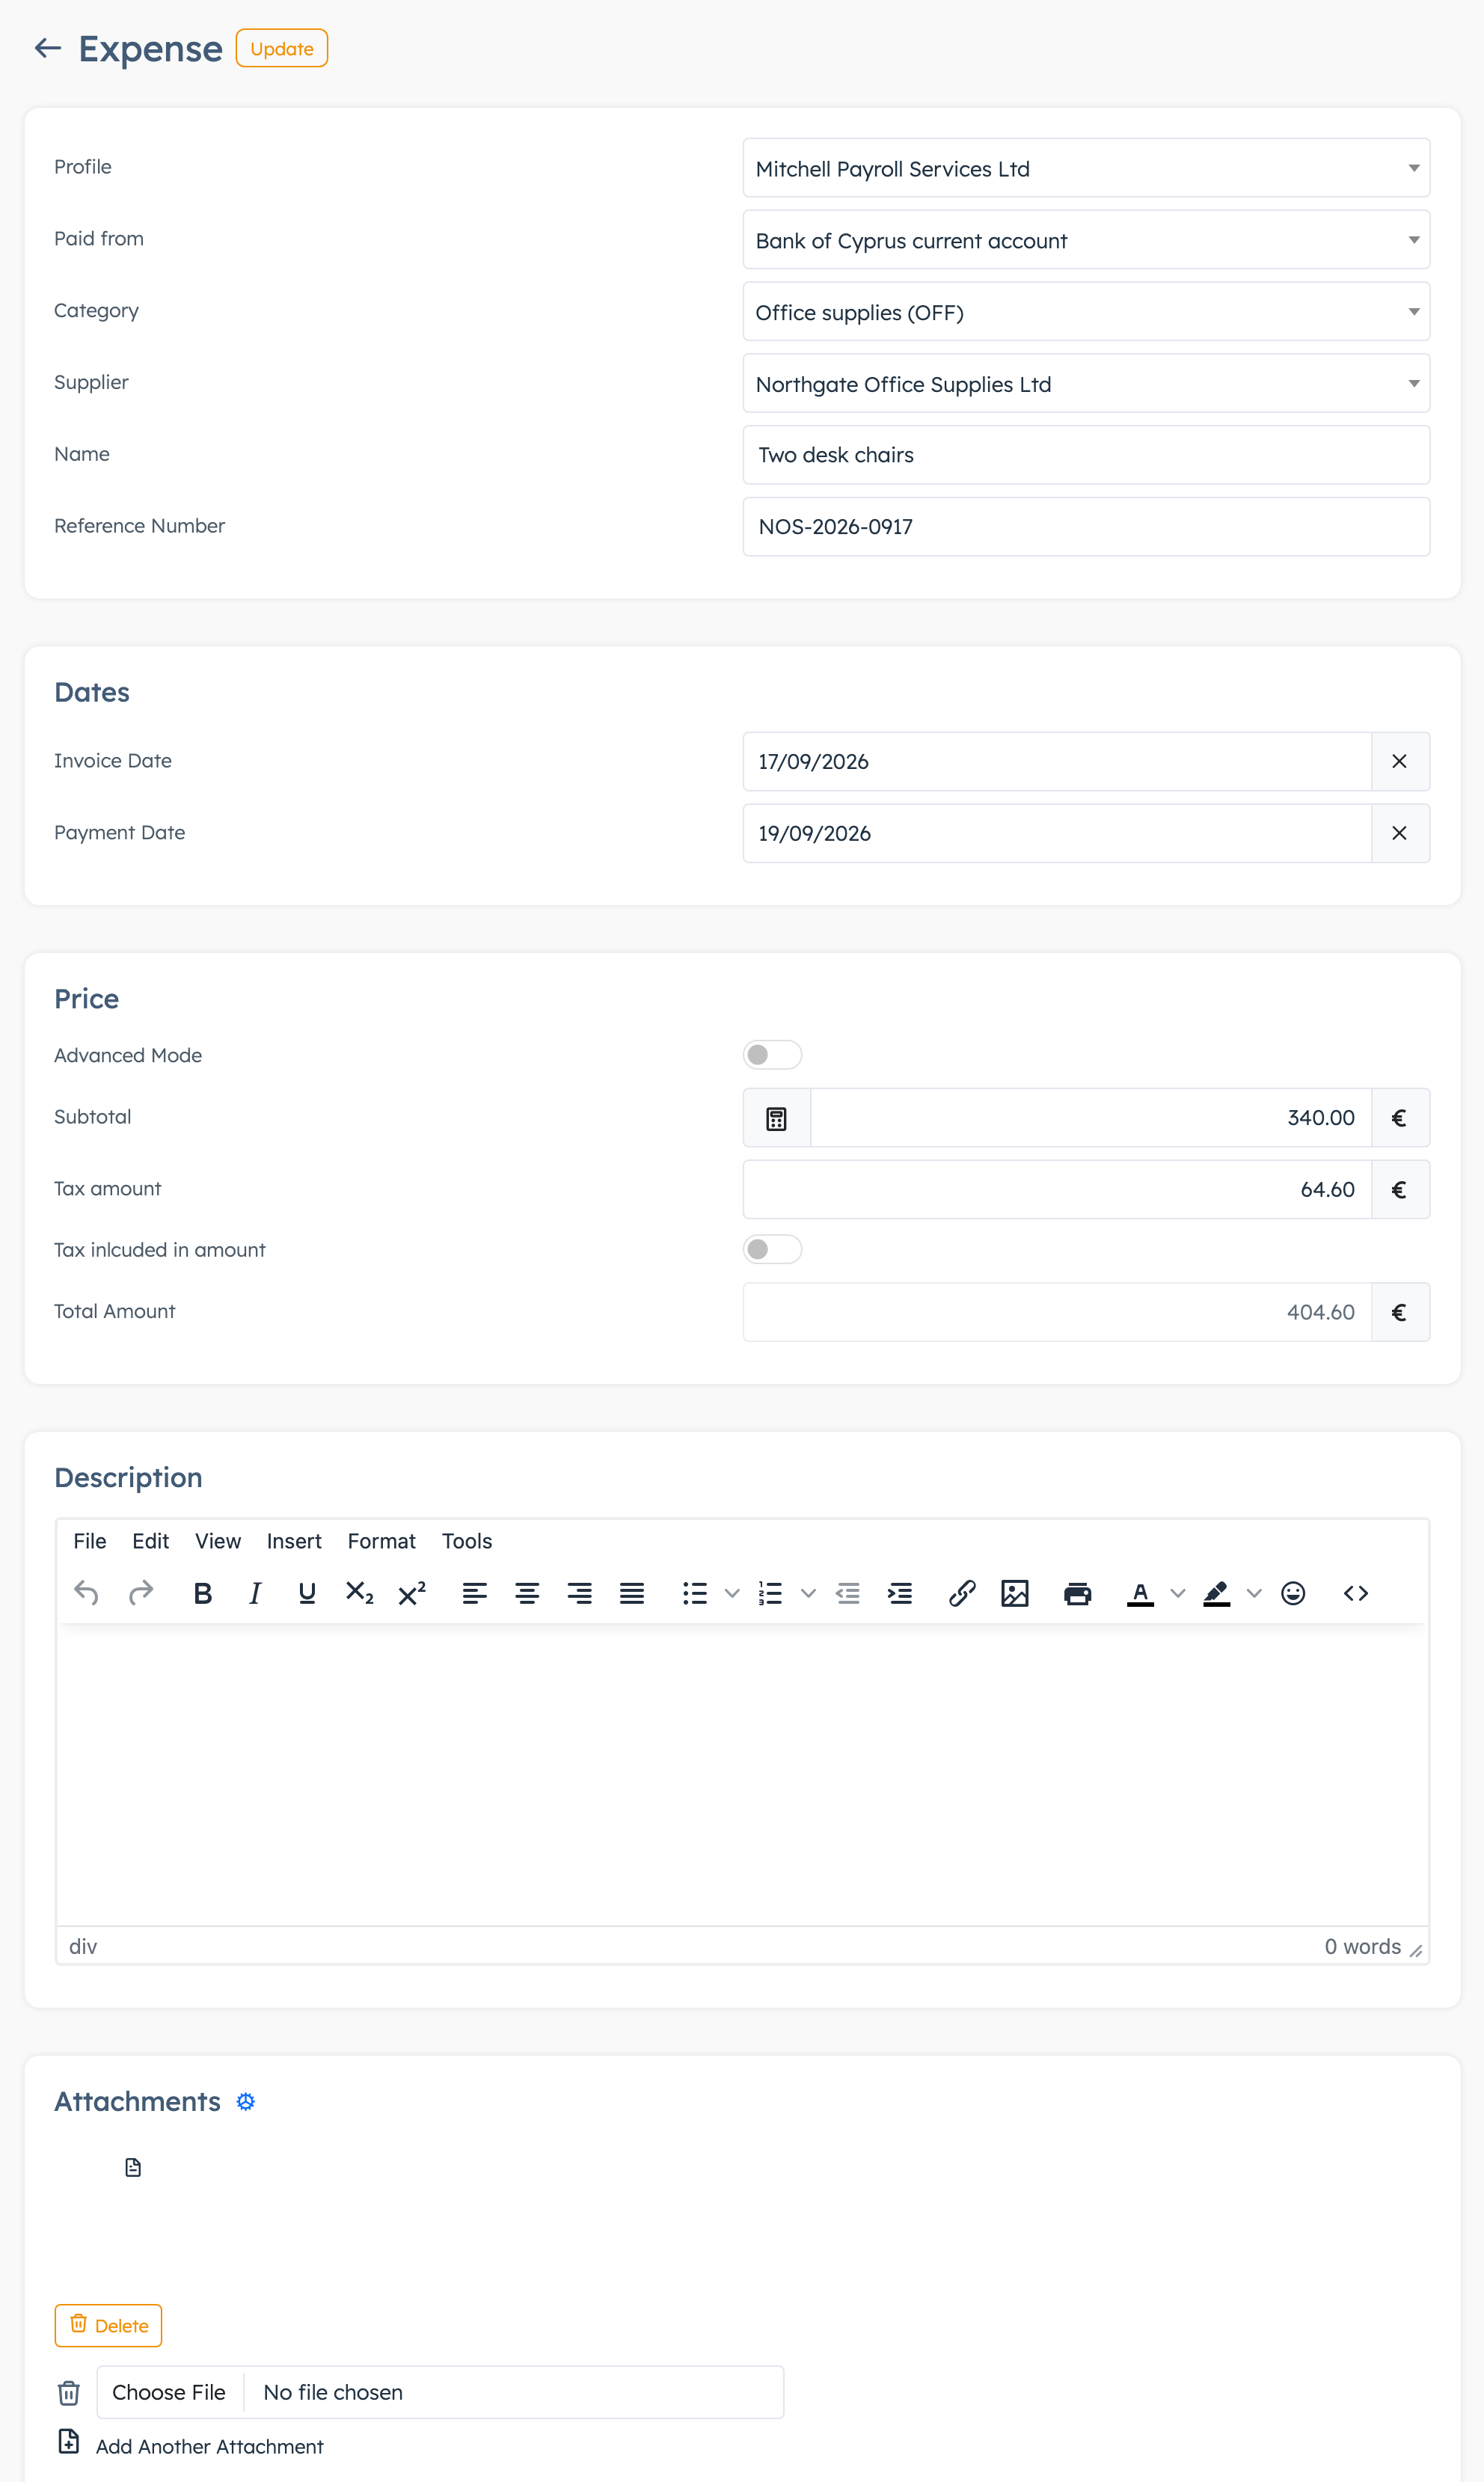
- Under Price, type the Subtotal and the Tax amount. If the subtotal you typed already includes the VAT, switch on Tax inlcuded in amount. The Total Amount fills in.
- Attach the receipt under Attachments.
- Click Save. The message "Expense created" appears.
The expense list, its date filters and the wallet all use the Payment Date. If you change the total or the wallet later, the CRM corrects the wallet balances.
Split an expense into lines#
Use lines when one receipt covers several things with different VAT rates.
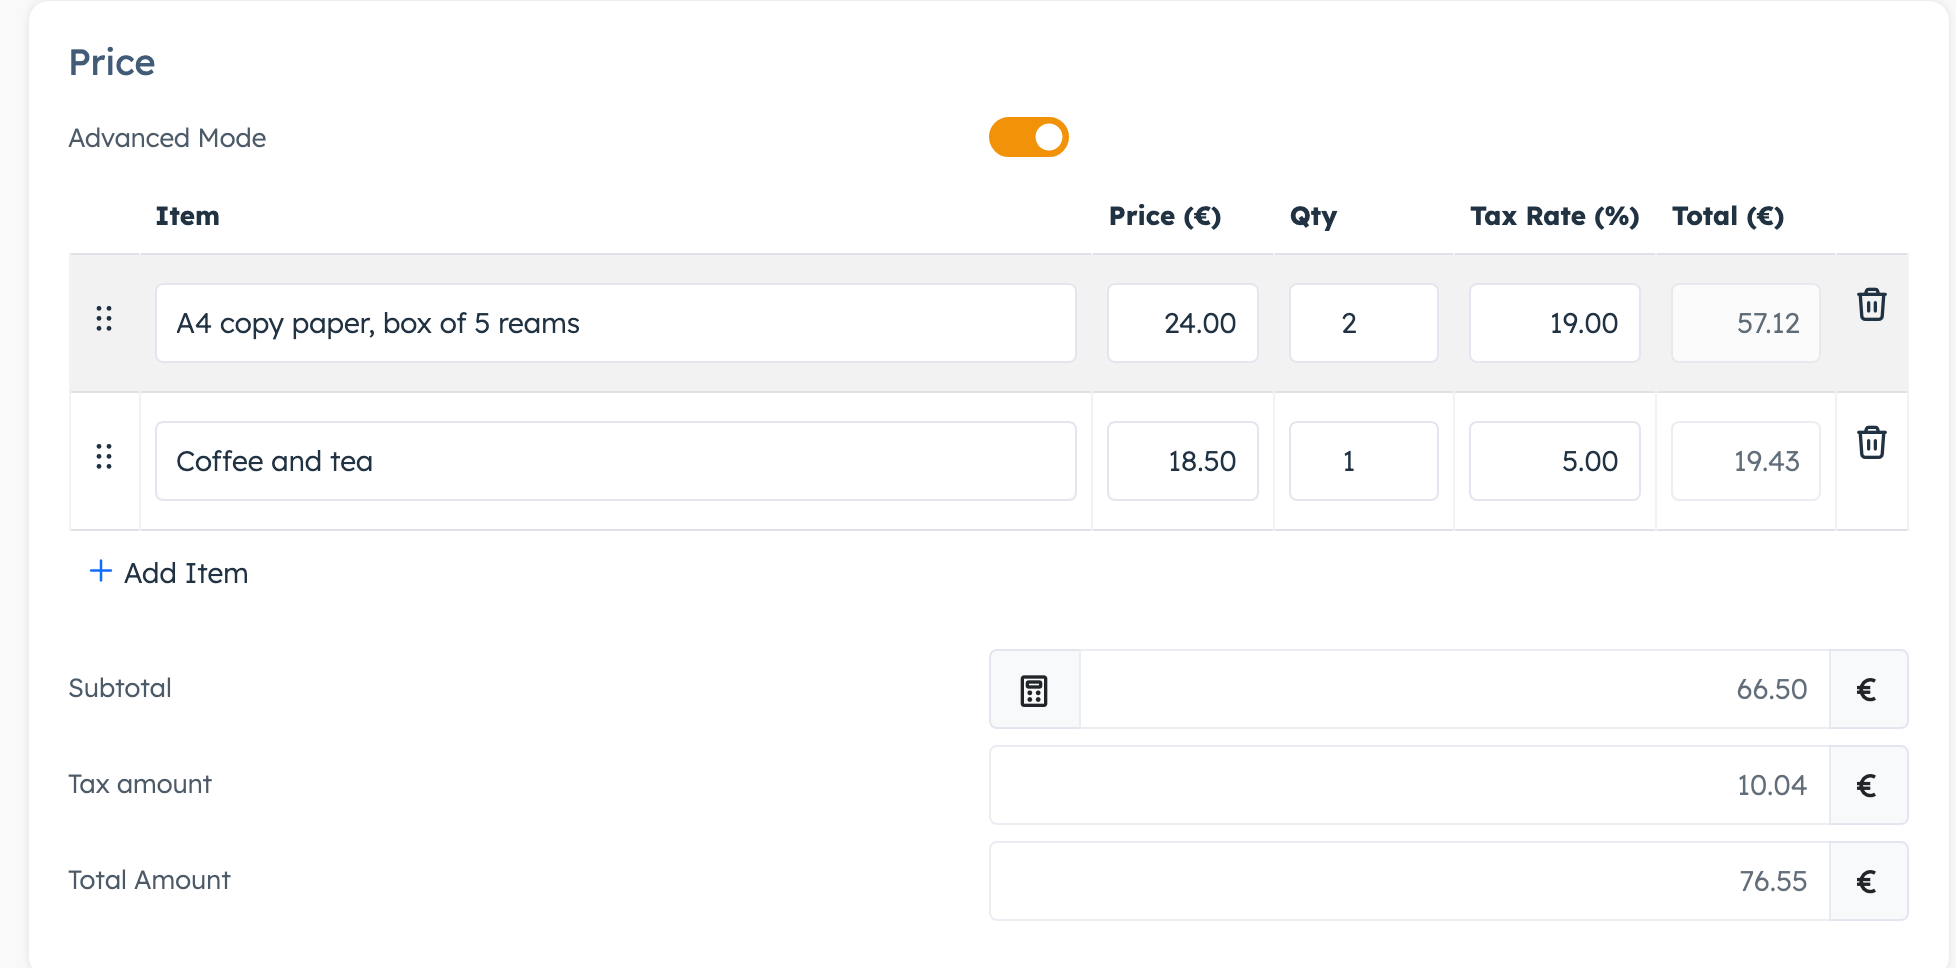
- Save the expense first. Advanced Mode only appears in the Price section after the first save.
- Switch on Advanced Mode. The CRM turns the current name and subtotal into the first line and locks the total fields.
- Click Add Item for each extra line.
- Fill in Item, Price, Qty and Tax Rate (%). Lines save as you type.
- Click Save.
If you switch Advanced Mode off again, the CRM deletes all the lines. It asks you first, and the totals stay as they were.
Add a quick expense#
Use a quick expense when you're away from your receipts, and complete it later.
- Click Quick Expense on the Expenses list, or click + in the top bar and pick Expense.
- Fill in Profile, Name, Category and Amount. From the top bar you also get Payment Date.
- Click Save.
The expense shows as [Draft], with no VAT, wallet or supplier. Open it later, add the missing details and click Save to clear the draft mark.
Find and export expenses#
Open Filters on the Expenses list to search by name, description, reference number or amount, or to narrow by Profile, Category, From Date and To Date (payment date), Wallet, Supplier or Drafts.
- Export makes a PDF of the list with your filters, including subtotal, tax and total.
- Print opens the same list ready to print.
- For a CSV file, open Reports > CRM Reports and use the Expenses report. Its only filter is a payment date range, and it includes drafts. Only super admins can open CRM Reports, so ask one if the page doesn't open for you.
Settings explained#
You find these on the Expenses tab of CRM settings. The gear icon next to Attachments on an expense takes you to the same limits.
| Setting | What it does | When to change it |
|---|---|---|
| Allow Attachments in expenses | Shows the Attachments section on expenses. On by default. | Leave on unless you keep receipts elsewhere. |
| Attachment file size limit (MB) | Largest file you can attach. Default 2 MB. | Raise it if the system refuses your scanned receipts. |
| Attachments limit for each expense | Most files per expense. Default 3. | Raise it for expenses with many receipts. |
| Allowed Attachments Types | File types you can attach. Default png, jpg, gif, webp and pdf. | Add a type if staff need to attach, for example, spreadsheets. |
Good to know#
- Deleting an expense gives the amount back to its wallet and deletes its attachments.
- Duplicate creates a saved copy with the same dates and takes the amount out of the wallet again. On the copy, Tax inlcuded in amount is always on, so switch it off if the original had it off. Set the dates on the copy and click Save.
- Deleting a supplier or category leaves its old expenses in place, with that column empty.
- If a colleague saved the same expense while you had it open, your save stops with "Update failed. Someone else made changes." Reload the page and make your change again.